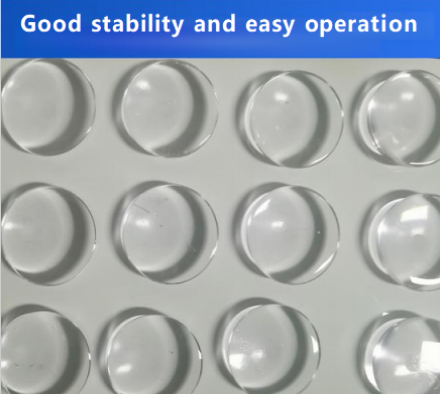
1.5cm * 1.5cm * 0.5cm
0.01kg
Support Payment Term:
HSBC Hong Kong
paypal
Alibaba Pay
Western Union
USD
EUR
GBP
SGD
HKD
CNH
CAD
MXN
BRL
JPY
THB
MOP
AUD
NZD
PLN
CZK
HUF
RON
CHF
SEK
NOK
DKK
TRY
AED
SAR
ILS
ZAR
$0.00
Discover similar items
Page 1 of 2

How to use
1. Cleansing the skin:
Before use, the patient's skin area should be cleansed to remove oil and dirt. This helps the gel pads to make better contact with the skin.
2. Prepare the equipment:
Ensure that the ultrasound equipment is ready for use, including necessary preparations such as switching on and warming up.
3. Remove the gel pad:
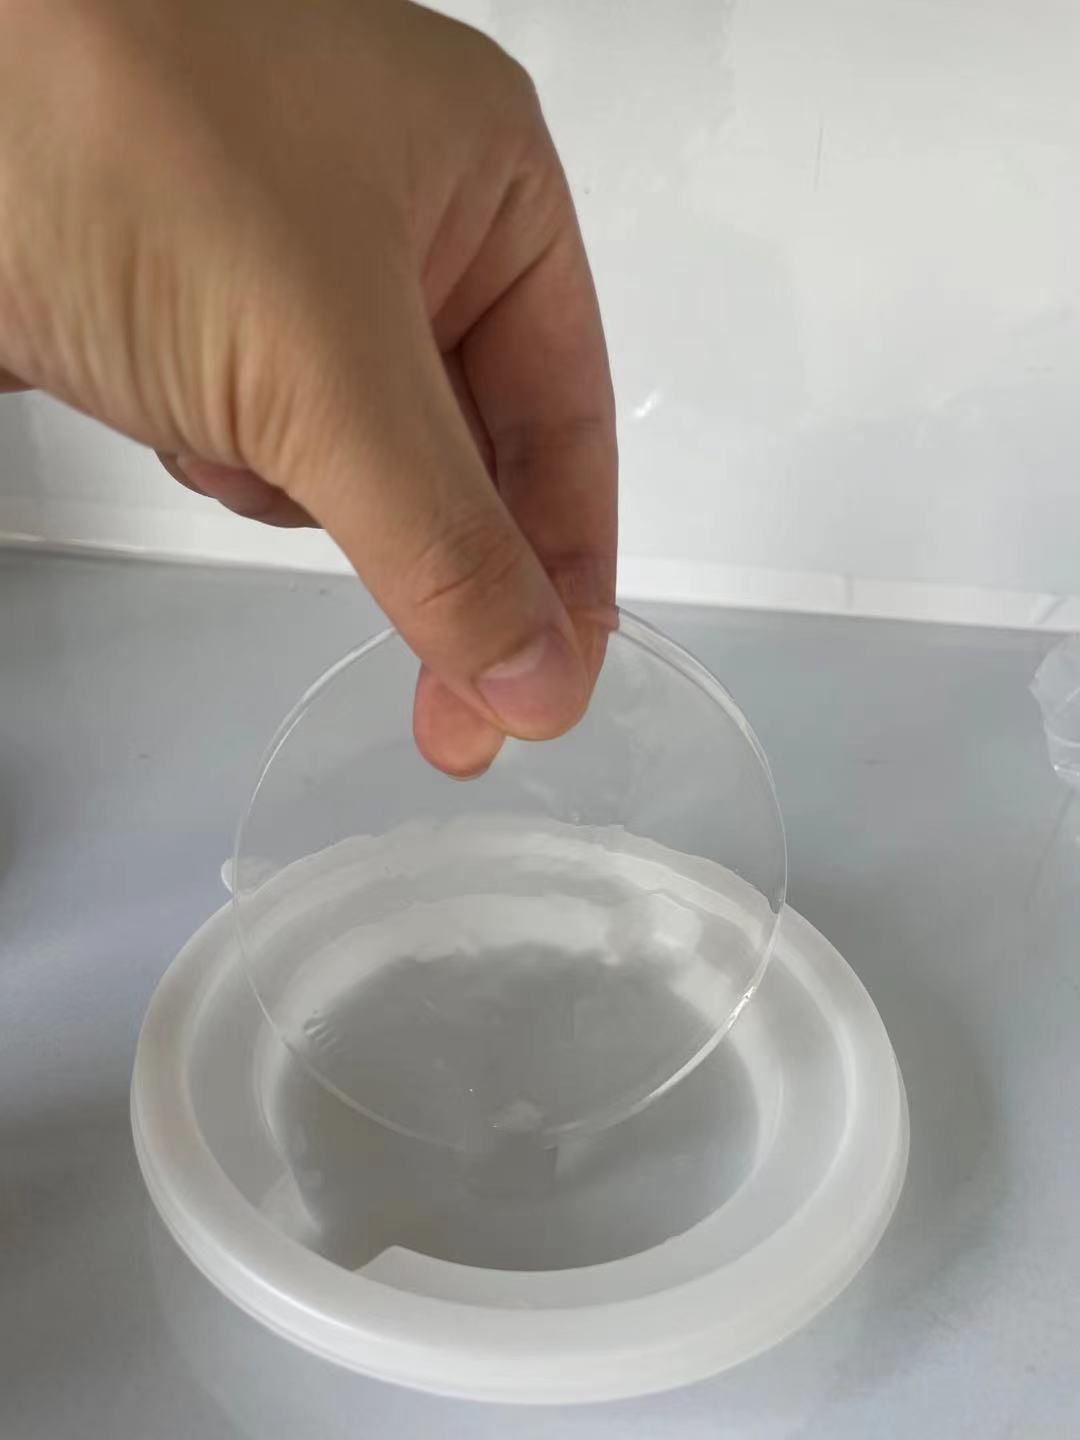
Remove the ultrasound gel pad from its packaging. This step is not required if it is pre-installed on the probe.
4. Place the gel pad:
If the gel pad is separate, place it in the proper position on the ultrasound probe. Ensure that the gel pad fits snugly against the contact surface of the probe.
5. Adjust Position:
Check and adjust the position of the gel pad as necessary to ensure that it properly covers the contact surface of the probe.
6. Placing the probe:
Gently place the probe with gel pad on the patient's skin. Avoid pressing hard as this may cause unnecessary pressure.
7. Start scanning:
Start the ultrasound equipment and follow the routine procedure for ultrasound examination or treatment.
8. Move the probe:
During the examination, smoothly move the probe to obtain the desired angle and view. The presence of a gel pad helps reduce friction and maintains good coupling. 
1. Avoid Sensitive Areas:
For areas with sensitive skin or open wounds, use extra caution and consider using special gel pads or taking other precautions.
2. Storage conditions:
Usually need to be stored in a cool dry place away from direct sunlight.

